


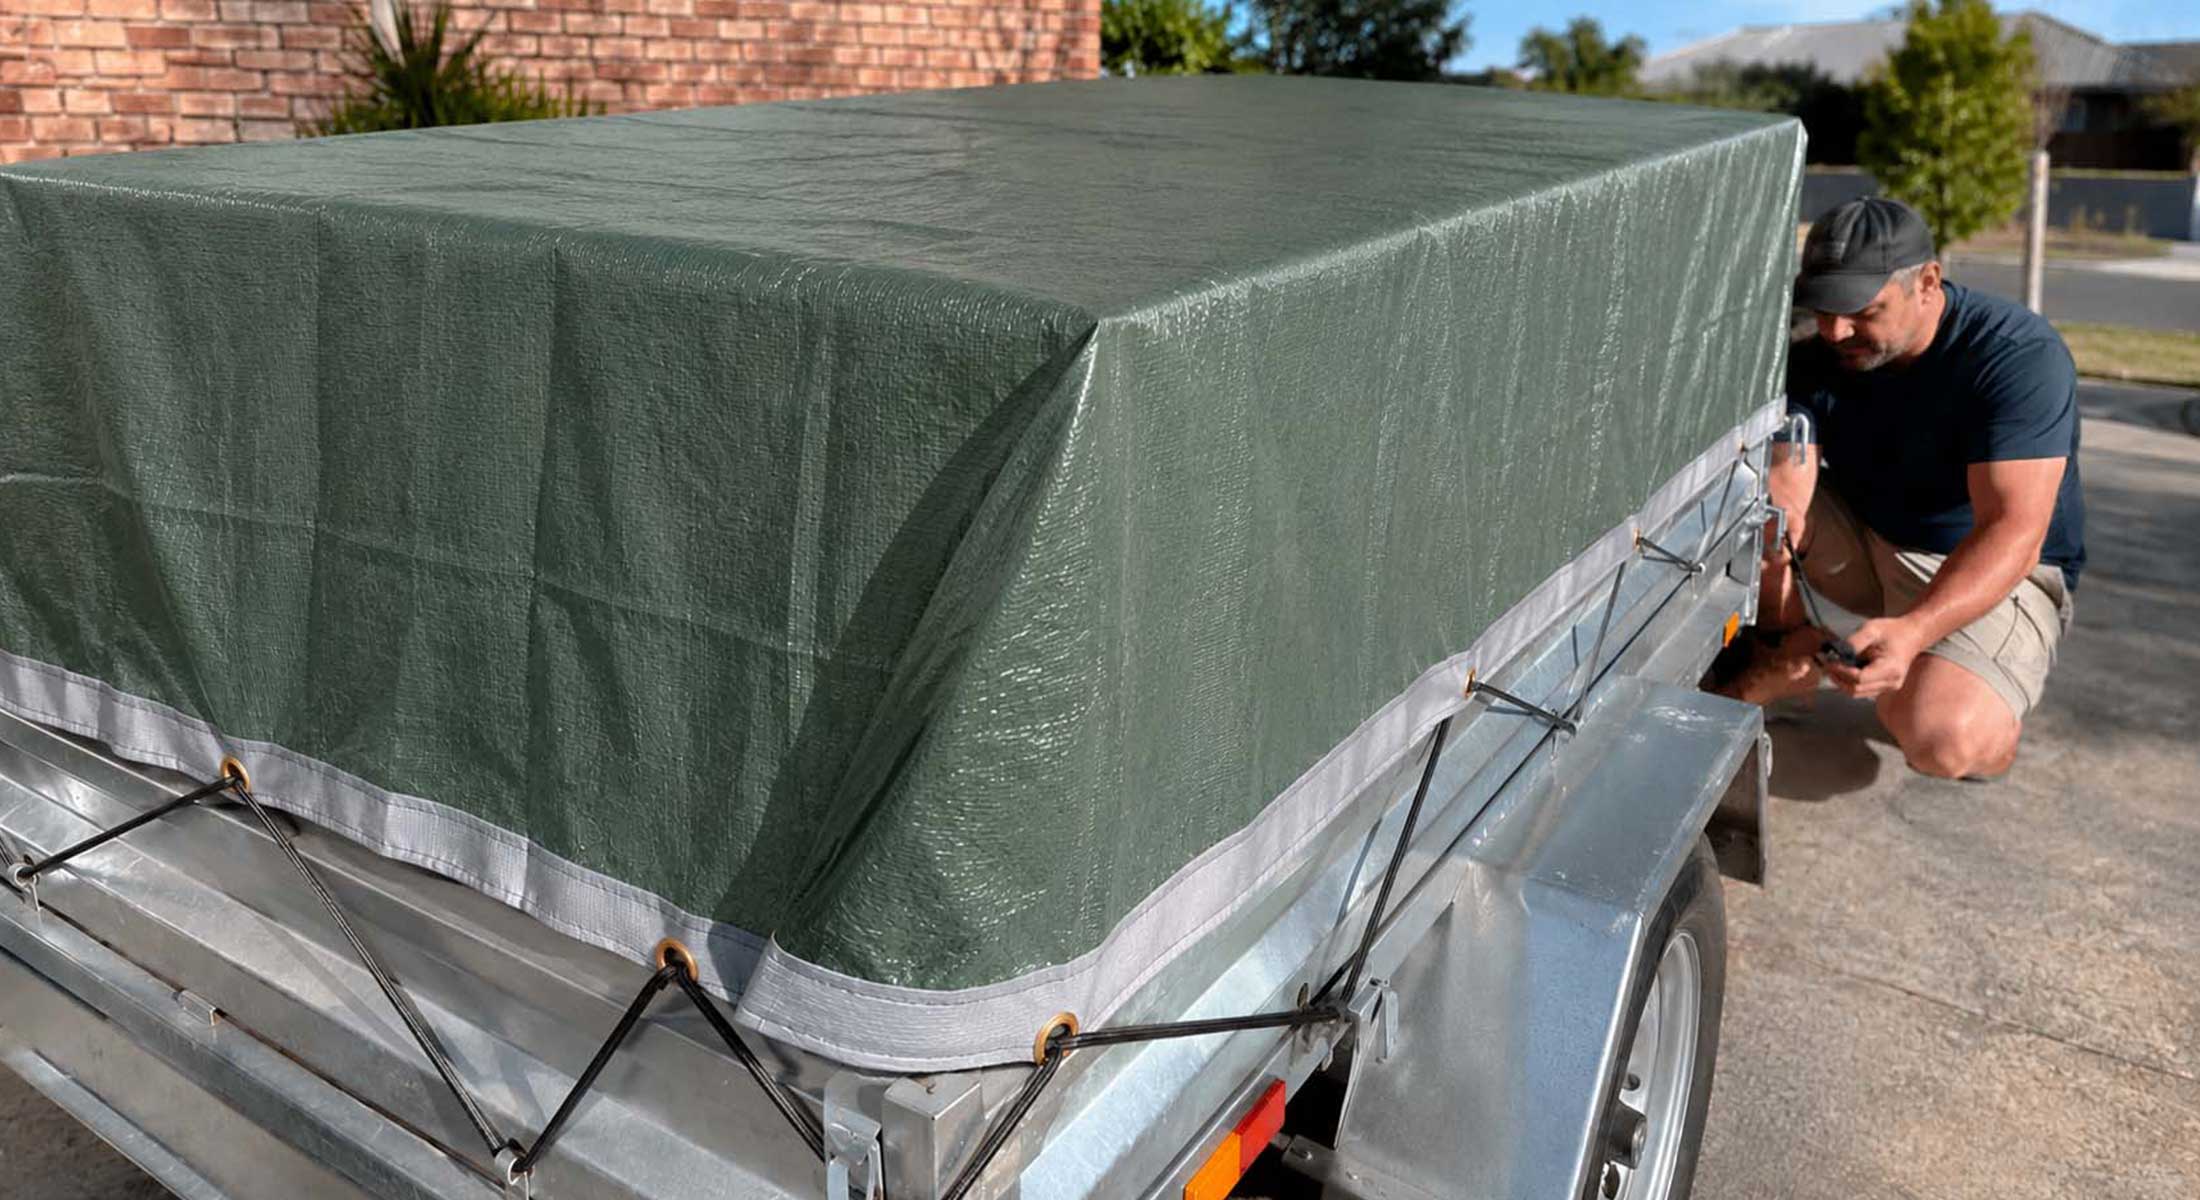
Choosing the Right Tarp Size for Your Trailer
Trailer tarp sizing isn’t complicated once you understand the handful of factors that actually matter — the real dimensions of your trailer and load, how much drop you need down the sides, and how the material you choose changes the way that sizing plays out in practice. Get these right and you end up with a cover that sits properly, ties down securely, and does the job it’s meant to do. Get them wrong and you’re constantly fighting a tarp that’s either too much or not enough.
Start With the Trailer, Not the Tarp
The most common mistake in trailer tarp sizing is starting with a tarp size that sounds about right and hoping it fits, rather than starting with actual measurements of the trailer and working from there. It takes ten minutes with a tape measure and it removes almost all of the guesswork from the rest of the process.
Begin with the base dimensions of the trailer deck itself — the length and width of the load area you’re covering. This is your starting footprint, and it’s the one measurement most people get right without thinking too hard about it. Where things go wrong is in what comes next.
If you’re hauling a flat or low load — building materials, garden supplies, general household junk on a tip run — the tarp only needs to cover the deck footprint plus enough extra to tie down properly. But the moment your load has any real height to it — furniture, machinery, stacked boxes, garden waste piled up rather than laid flat — you need to factor that height into your calculation, and this is where a lot of people come unstuck.
Understanding Drop: The Measurement Most People Get Wrong
“Drop” is the term for how far the tarp hangs down the side of your trailer once it’s covering a load with some height to it. It’s the single most important concept in trailer tarp sizing, and it’s the one that trips people up more than any other.
Here’s the logic. If your trailer deck is, say, 2 metres wide and your load stacks a metre high on each side, a tarp that’s only 2 metres wide will sit flat across the very top of the load and stop dead at the edges — leaving the sides of your load completely exposed. To actually cover the sides, the tarp needs additional width equal to roughly twice the load height, on top of the base deck width. So in this example, you’d want something in the order of 2 metres of base width plus an extra 2 metres to account for a metre of drop on each side — 4 metres of total tarp width, not 2.
The same logic applies to length if your load is stacked high along its full run rather than just in the middle. Measure the height of your load at its tallest point, double it, and add that to both your width and length calculations if the load runs the full length of the trailer.
This is the calculation that most people skip, and it’s exactly why so many trailer tarps end up covering only the top of a load while the sides flap around exposed to wind and rain. A tarp that “looks about the right size” laid flat on the ground can be dramatically undersized once it’s actually asked to drop down the sides of a loaded trailer.
Overhang and Tie-Down: Why Bigger Than the Minimum Is Usually Right
Once you’ve calculated your minimum coverage — deck footprint plus drop for load height — you need to add a bit more again for overhang and tie-down. This is the margin that lets you actually secure the tarp properly rather than just barely covering the load with nothing spare to work with.
A tarp that finishes exactly at the edge of your trailer rail gives you nothing to grab onto, nowhere to attach a rope or bungee without pulling at an awkward angle, and no margin for the tarp shifting slightly during loading or while underway. As a general rule of thumb, adding at least 30 to 60 centimetres of extra material on each dimension beyond your calculated minimum gives you a comfortable working margin for tie-down points and a bit of movement without leaving the load exposed.
This overhang also matters for weather protection. Rain rarely falls perfectly straight down when a trailer’s moving — wind and forward motion drive it at an angle, and a tarp with generous overhang sheds that angled rain away from the load rather than letting it run in at the edges where coverage is tight.
One detail that catches people out: tarps are generally sold by their cut size, which is the dimension of the material before the edges are hemmed and finished. The finished size — after hemming — typically ends up a few percent smaller than the stated dimensions. On a small tarp this barely matters, but on a larger one it can be a genuine ten or fifteen centimetres per side. When you’re calculating right at the margin of what you need, it pays to round up rather than order the exact minimum.
How Material Choice Changes the Fit
Here’s the part that a lot of trailer tarp guides skip entirely, and it’s genuinely important: the material you choose doesn’t just affect durability and price, it changes how the tarp behaves once it’s actually sized and fitted to your trailer. The same dimensions in a different material can perform completely differently in practice.
Poly tarps are the most common choice for general trailer covering, and for good reason — they’re affordable, fully waterproof, and available in a wide range of sizes. But poly is relatively lightweight for its coverage area, which means a poly tarp sized with generous drop and overhang can catch wind more readily than a heavier material of the same dimensions. For poly, it’s worth being a little more generous with your tie-down points and eyelet spacing than the minimum, because the lighter material needs more secure anchoring to stay flat and controlled at speed. Our range covers a range of weights, and for trailer use specifically, a heavier gsm poly tarp holds its shape and resists wind lift noticeably better than a lightweight economy option in the same size.
PVC tarps bring significantly more weight and body to the same dimensions, which changes the sizing calculation in a subtle but important way. Because PVC is heavier and stiffer than poly, a PVC tarp with the same drop measurement tends to sit flatter and move less in the wind, which means you can often get away with slightly less aggressive tie-down spacing than you’d want with poly for the same coverage. The trade-off is that PVC is heavier to handle — a large PVC tarp with generous drop on all sides is a genuinely substantial object to lift, position and secure, so it’s worth sizing accurately rather than oversizing “just in case,” because excess PVC material is both harder to manage and adds unnecessary weight to work with.
Mesh tarps are a different proposition altogether, because they’re not solid — they’re designed to let air through while still containing a load. For mesh, drop calculations still apply in the same way, but the sizing conversation is less about weather protection and more about containment and wind load reduction. A mesh cargo tarp sized correctly with adequate drop keeps loose material like green waste, insulation batts or light debris from blowing out the sides and back of a moving trailer, while the open weave means the tarp itself experiences far less wind resistance than an equivalent solid tarp — which is exactly why mesh is the right choice for loads where airflow matters more than waterproofing, such as fresh garden waste or anything that would otherwise trap heat and moisture under a sealed cover.
Canvas tarps are less commonly used purely as trailer covers for road transport, but they do have a place for specific applications — particularly where a trailer is parked and loaded for an extended period rather than constantly on the move, or where the load benefits from a breathable cover rather than a sealed one. Canvas’s weight and natural drape mean it sits solidly once positioned, but its heavier build makes it a less practical everyday choice for a trailer that’s tarped and untarped frequently for road use.
Putting the Numbers Together: A Worked Example
It helps to see the whole calculation applied to a realistic scenario. Say you’ve got a box trailer with a deck that measures 1.8 metres wide by 3 metres long, and you’re loading it with furniture and boxes stacked up to about 80 centimetres high across most of the load.
Start with the base footprint: 1.8m by 3m. Add drop for the load height on all four sides — that’s twice 80 centimetres, or 1.6 metres, added to both the width and length calculations. That brings you to roughly 3.4 metres wide by 4.6 metres long just to achieve full coverage down to trailer rail height. Then add your overhang and tie-down margin — say 40 centimetres on each side, or 80 centimetres total added to each dimension — and you’re looking at something in the order of 4.2 metres by 5.4 metres as your target tarp size.
That’s a considerably larger tarp than the trailer’s actual footprint would suggest at first glance, and it’s exactly the kind of gap between “trailer size” and “tarp size” that catches people out when they’re sizing by eye rather than working through the calculation properly.
A Few Practical Tips for Getting It Right First Time
Measure your load, not just your trailer, whenever you’re covering anything with height. The trailer deck dimensions are only the starting point — what’s loaded on top is what actually determines the tarp size you need.
Round up rather than down. Between the finished-size reduction after hemming and the practical benefit of a bit of extra tie-down margin, erring slightly larger than your calculated minimum is almost always the better call. A tarp that’s a touch bigger than strictly necessary is easy to work with. One that’s just short is a constant frustration.
Think about your typical load, not just today’s load, if you’re buying a tarp for regular trailer use. If you sometimes haul higher loads than usual, sizing for your more demanding typical use case means you’re not caught short on the days it matters most.
Match your tie-down hardware to your material. Lighter poly tarps benefit from more frequent tie-down points to control wind movement. Heavier PVC and mesh options can generally be secured with fewer, well-placed points given their weight and structure.
And if none of the standard sizes line up neatly with your calculated dimensions, a custom-made tarp — available across several of our material ranges — removes the guesswork entirely and gets you a cover sized precisely to your trailer and typical load.
Getting the Fit Right Pays Off Every Trip
A properly sized trailer tarp is one of those things you stop thinking about once you’ve got it right — it goes on cleanly, ties down securely, protects the load properly, and comes off without a fight. Getting there just takes a bit of upfront measuring and an understanding of how drop, overhang and material choice work together.
Take the time to measure properly, do the maths on drop and overhang, and choose the material that suits how the trailer’s actually used, and you’ll end up with a tarp that does its job properly trip after trip.
